

Can I Repair A Rust Spot On My Rifle
How to Repair Rust on a Car
As long equally vehicle body panels are made from steel, they're going to rust.
Introduction
Sooner or later, rust on cars is inevitable. However, if you deal with rust early, you can cease it from spreading and squeeze a few extra years out of your vehicle.
Rust repair isn't hard, merely it is time-consuming (generally waiting for primer and paint to dry between steps). Plan to spend virtually $100 on supplies like sandpaper, primer, masking record and poly sheeting, a tack rag, polishing compound and touch-up pigment and clear glaze. Choose a calm, clouded day and block out the full day to fix the near common rust spots on the hood and doors.
Project step-by-pace (9)
Step i
Go Shopping for Supplies
- First, observe the machine manufacturer'south paint lawmaking.
- Annotation: The paint code can be in a variety of places on the torso, in the engine compartment or torso, or other places. Use either of these online resources to find instructions on how to locate your pigment code: automotivetouchup.com or duplicolor.com.
- Buy automotive impact-up paint in pints and quarts to use in a spray gun, in aerosol cans, or in roller brawl applicators.
- Pro tip: Even if you know how to employ a spray gun, mixing automotive pigment with a reducer to match the temperature and humidity conditions can exist mighty tricky. We don't recommend it. Instead, purchase aerosol cans for larger repairs and rollerball applicators to fix scratches.
- Note: Almost late-model vehicles were painted with base coat/clear glaze pigment. The base coat contains just the pigment and binding resins-the clear coat is just the gloss.
- Buy equal amounts of both base of operations glaze and clear coat.
- You lot'll besides need an epoxy self-carving primer to bite into the blank metal and a lacquer primer to hold the paint.
- Purchase twoscore-, 600- and i,000-grit sandpaper, a sanding cake, grease and wax remover, poly sheeting, painter's record, a tack rag and a microfiber cloth.
Step 2
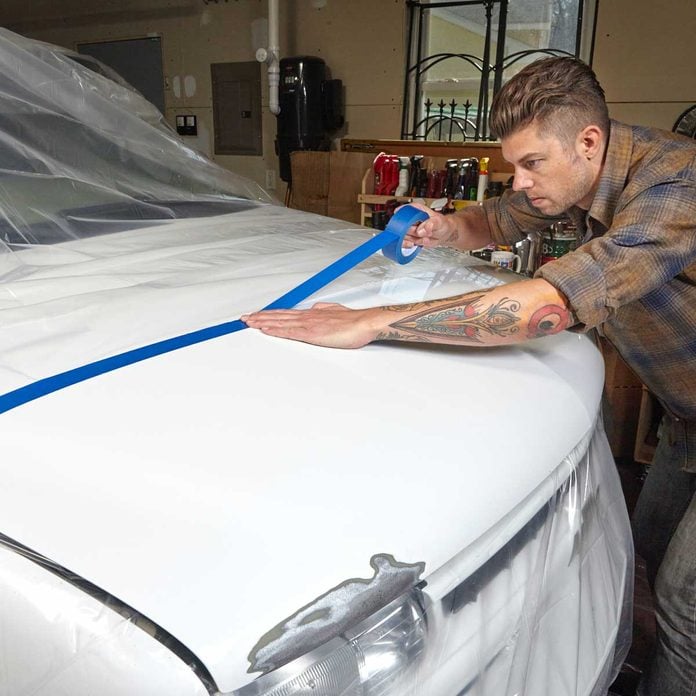
Mask Off the Repair Area
- Record the leading edge of poly sheeting a few feet abroad from the repair then you'll have room to alloy the touch-upwardly pigment into the good areas.
![]()
Stride 3
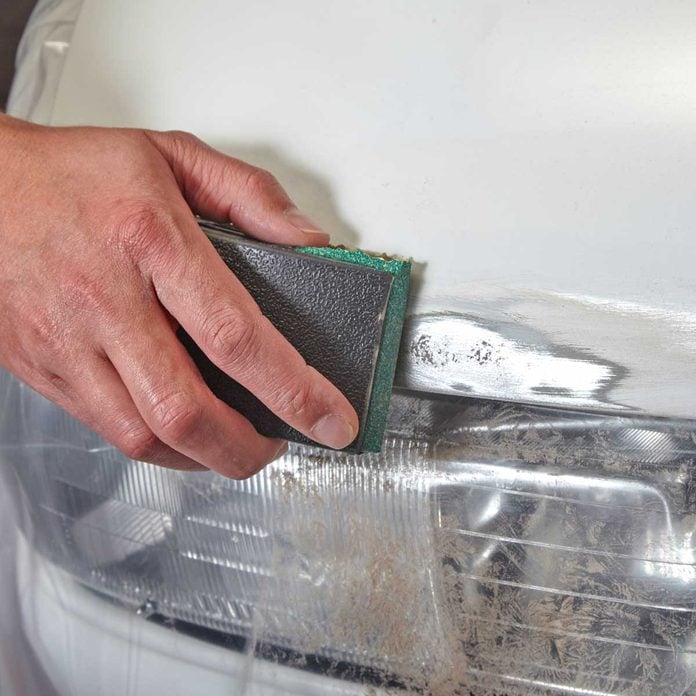
Remove the Rust
- Crack off any blistered pint with a scraper.
- Sand through the rust spots downward to the bare metal, using xl-dust sandpaper.
- Enlarge the sanded expanse so y'all'll have infinite to feather the edges.
- Switch to 120-dust sandpaper to plumage the edges of the repair area.
- Complete the feathering with 220 grit.
- Apply a tack rag to remove particles from the unmasked area.
Pace 4
Clean with Detergent
- If the rust has created pits in the metal, you can fill them at present with torso filler or wait until the epoxy primer dries and apply multiple coats of filler primer.
- Clean the unabridged unmasked area with a grease-cutting dishwashing detergent, followed by clean rinse water.
- Allow it dry out.
- Wipe the surface area with a lint-free cloth to remove any remaining dust or lint.
- Utilize the paint manufacturer's prep solvent.

Step v
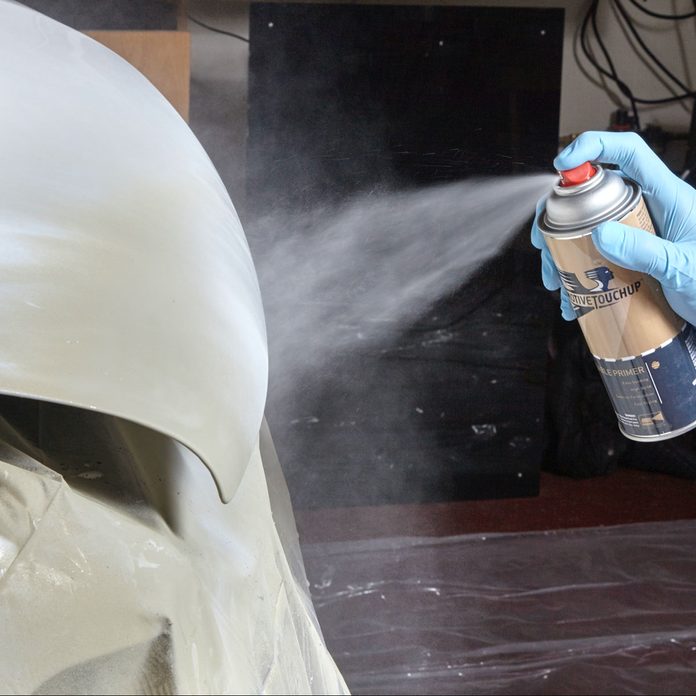
Use Epoxy Primer, Then Filler Primer
- Spray the filler primer in heavier coats to cover the entire repair expanse.
- Movement the tin away from the surface slightly and blend it into the surrounding painted area.
- Pro tip: Self-etching epoxy primer provides a strong bond to blank metal, then use it as your first glaze.
- Spray two to three medium coats, assuasive the recommended wait time listed on the characterization (ordinarily xv minutes) between coats.
- Wait a full hour for the epoxy to dry to the touch (longer if it'southward humid exterior).
Step vi
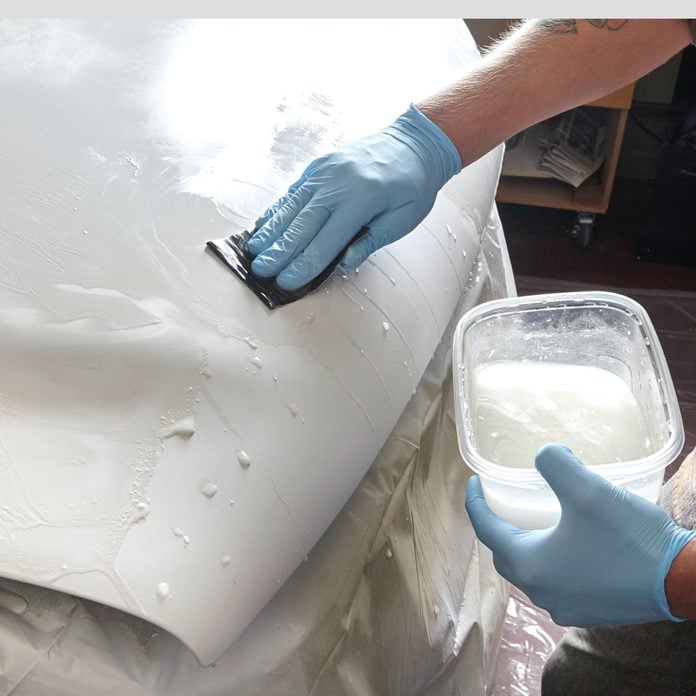
Sand the Primer
- Starting with wet 600-grit sandpaper, smooth the primer and plume the edges.
- Switch to wet 1,000-grit sandpaper to last-sand the entire repair, including the blended areas.
- Wash with clear water and let dry.
- Wipe the dried epoxy primer with a lint-gratuitous material.
- Apply two to iii heavier coats of lacquer filler primer, allowing drying time between each glaze.
- Let the lacquer primer dry out until information technology's dry to the touch—at least i hour—before sanding.
- Sand drips and sags with 320-grit sandpaper.
- Then concluding-sand the entire repair area.
Footstep seven
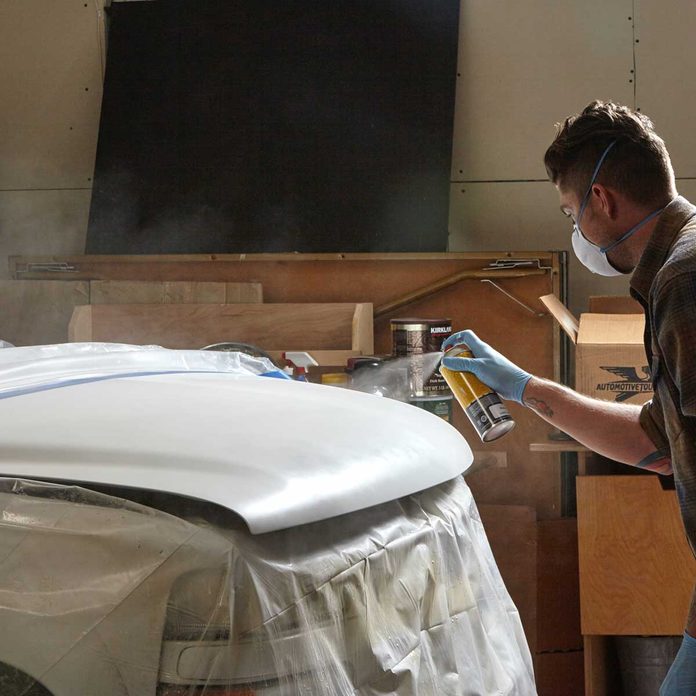
Apply the Colored Base Coat
- Holding the spray can about 12 in. away from the surface, spray the repaired area.
- Offset at the bottom of the repair and utilise the color coat in left-to-right rows, overlapping each laissez passer by about one-third.
- Build the color slowly into the repair and surrounding areas in two to 3 coats.
- Let about 10 to 15 minutes between coats.
- Let the base coat to dry, until it'south dry out to the touch, at to the lowest degree threescore minutes.
- Pro tip: Don't sand the base glaze (peculiarly metallic colors) unless you've created sags. In that instance, sand lightly so respray the touched-up areas.
Pace 8
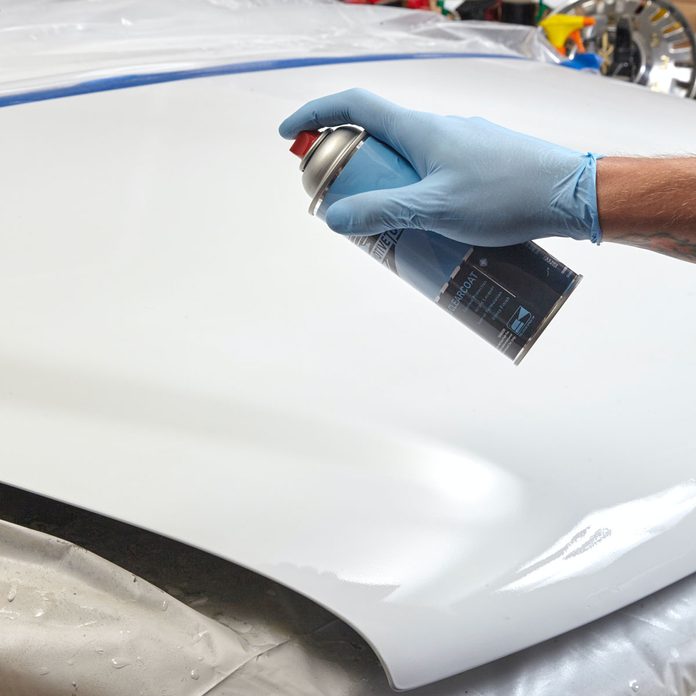
Spray on the Clear Coat
- Apply several coats of articulate glaze, allowing the recommended drying time between coats.
- Gradually work the clear coat into the surrounding painted areas to reach a smooth blend line.
- Annotation: This is the hardest function because all clear coats run easily and that will ruin the look of your paint job. If yous create a run in the clear coat, yous'll have to let it dry for at least 48 hours before attempting to gear up information technology with fine-grit sandpaper and polishing compound. And then you lot'll have to respray the sanded area. So do spraying on a flake slice of cardboard to get a feel for the nozzle and the speed of application.
- Permit the clear coat dry for several hours before driving the vehicle and at least 48 hours before buffing.
Footstep nine
Buff the Repair
- Using an one-time cotton T-shirt or microfiber fabric and buffing chemical compound, paw-buff the repaired surface area.
- Pro tip: Don't utilise a polishing machine for this step. Await at least 30 days before waxing.
Originally Published: December 31, 2022

Source: https://www.familyhandyman.com/project/how-to-repair-rust-on-a-car/
Posted by: carternointian1976.blogspot.com
0 Response to "Can I Repair A Rust Spot On My Rifle"
Post a Comment